These golden, flaky Cheesy Garlic Cruffins with their buttery layers and melted cheddar are the kind of savory treat that disappears from the table before you can even sit down. I discovered these one afternoon when I had leftover crescent roll dough and wanted something more exciting than plain rolls, and now they're my go-to for potlucks and family dinners. The way the garlic butter soaks into all those tender, Cheesy Garlic Cruffins layers is absolutely heavenly, and they're surprisingly easy to make with just a muffin tin and some store-bought dough.

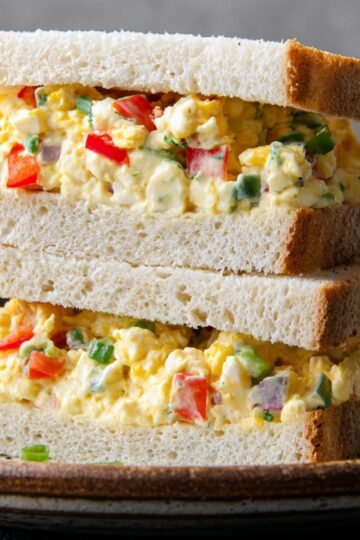
Serve them warm breakfast alongside our Fluffy Homemade Pancakes for a sweet and savory brunch spread, or pair them with Egg Mayo Sandwich when you want a cozy, comforting meal that feels special.
Why You'll Love This Cheesy Garlic Cruffins
These garlic bread rolls check every box for a crowd-pleasing recipe that actually delivers. They take just 45 minutes total, use ingredients you can grab at any grocery store, and the result is bakery-quality without any of the fuss. Each cruffin is flaky and tender on the inside with golden, crispy edges and pockets of melted cheese throughout.
They're incredibly versatile too. Serve them as an appetizer at parties, pack them in lunchboxes for a special treat, or enjoy them as a side dish with soup or salad. Kids love pulling apart the layers and finding the melted cheese inside, and adults appreciate how buttery and flavorful they are. Plus, the garlic butter brushed on top at the end takes them from really good to absolutely addictive.
Jump to:
Cheesy Garlic Cruffins Ingredients
Here's everything you need to make these flaky, Cheesy Garlic Cruffins treats at home.
See Recipe Card Below This Post For Ingredient Quantities
For the Dough:
- Refrigerated crescent roll sheets: Form the base of these cruffins, creating those beautiful flaky layers when rolled and baked.
For the Filling:
- Unsalted butter, softened: Creates a rich, spreadable filling that adds moisture and flavor to every layer.
- Chives, finely chopped: Add a mild onion flavor and pretty green flecks throughout the filling.
- Garlic, minced: Brings bold, savory flavor that pairs perfectly with the buttery dough and cheese.
- Mild cheddar cheese, shredded, divided: Melts beautifully between the layers, adding richness and that irresistible cheese pull.
For the Garlic Butter:
- Unsalted butter, melted: Creates a glossy, flavorful coating that soaks into the warm cruffins.
- Garlic, minced: Adds another hit of garlic flavor right on top for maximum impact.
- Chives, finely chopped: Brings freshness and a pop of color to the finished cruffins.
- Kosher salt: Enhances all the flavors and balances the richness of the butter and cheese.
how to make Cheesy Garlic Cruffins
These savory muffin recipes come together with straightforward steps that anyone can follow.
- Prepare the Dough: Preheat your oven to 350°F (175°C). Lightly spray a standard 12-cup muffin tin with nonstick cooking spray and set it aside. On a lightly floured work surface, roll out each tube of crescent roll dough to a 12×16-inch rectangle. If you're using perforated crescent roll dough, gently pinch the seams together to seal them.
- Make the Filling: In a medium bowl, combine the softened butter, chopped chives, and minced garlic. Mix everything together until well blended and the garlic and chives are evenly distributed. Spread about ⅓ of this butter mixture evenly over the top of one sheet of dough, making sure to cover it all the way to the edges. Sprinkle 1 cup of shredded cheddar cheese evenly over the butter mixture.
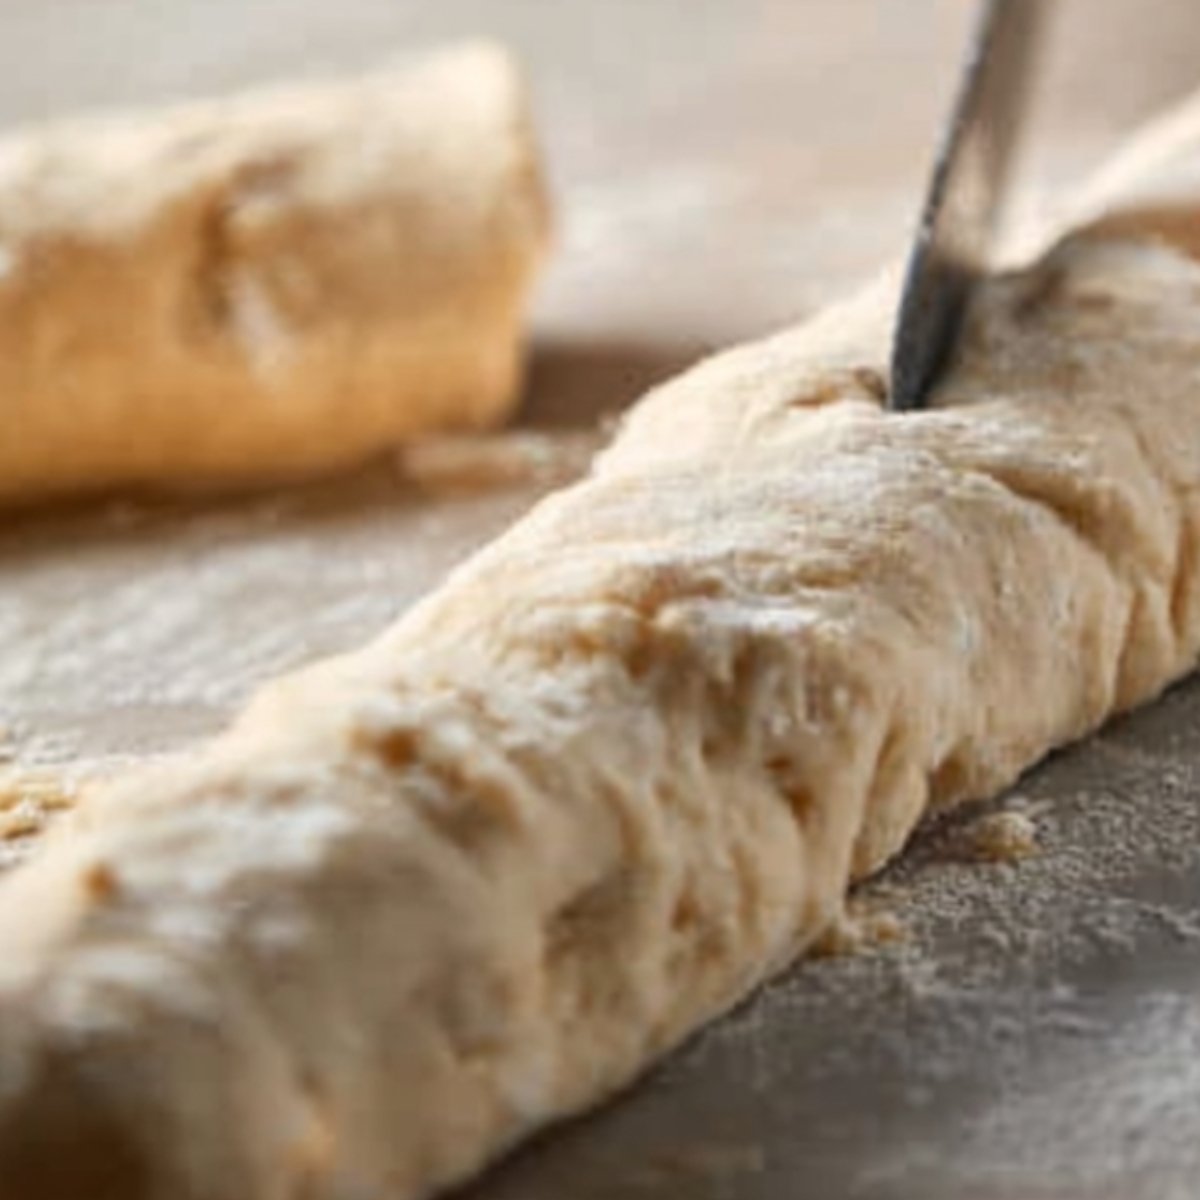
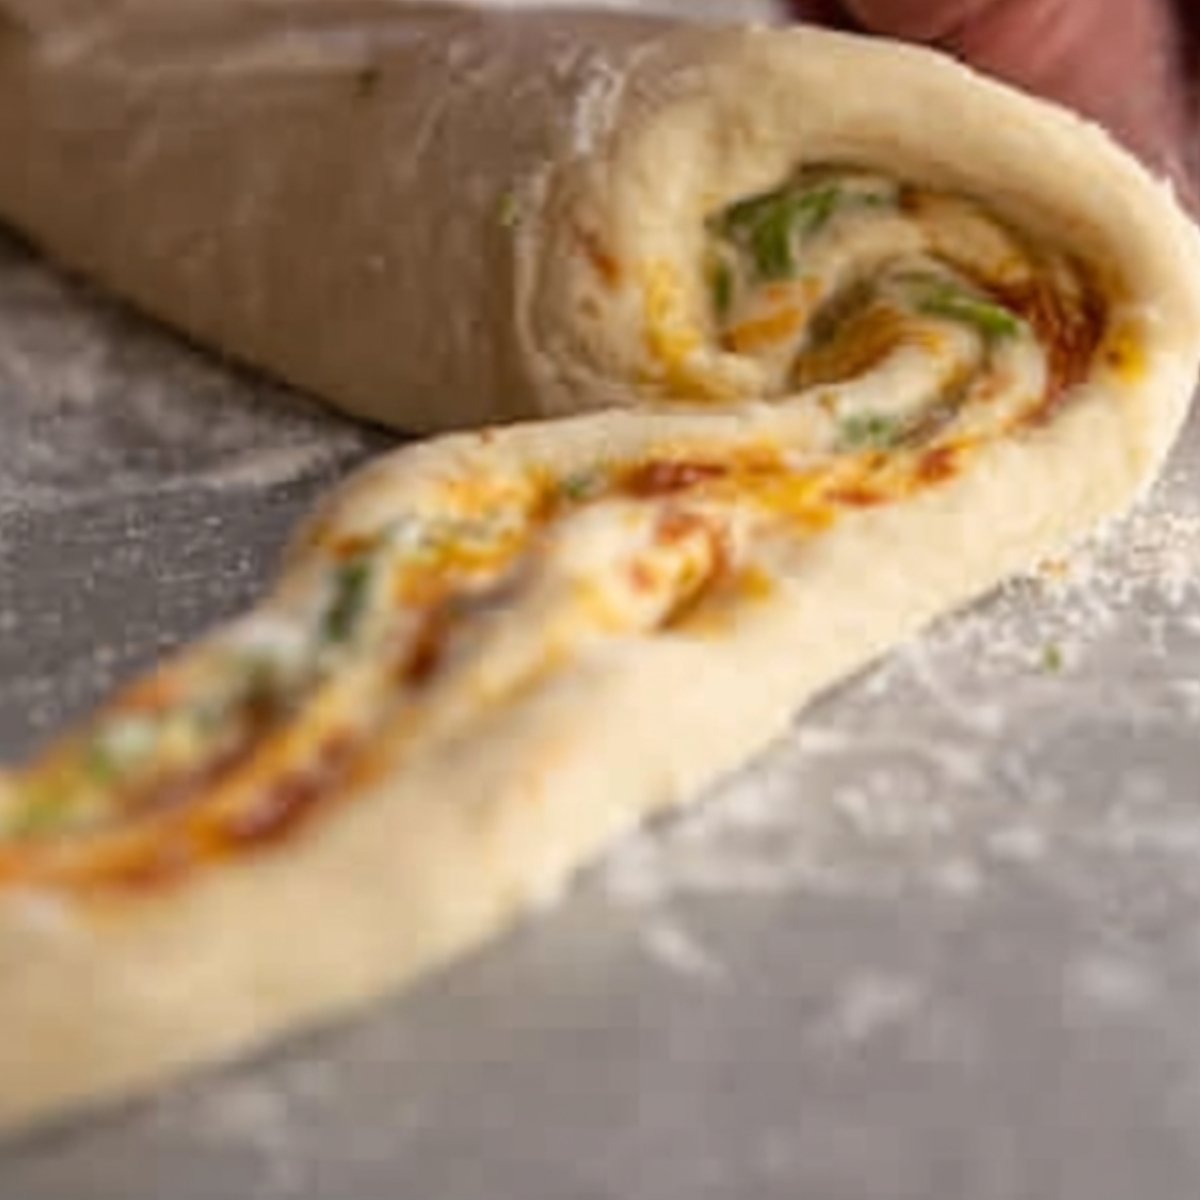
- Roll and Cut the Dough: Starting at the long end of the dough sheet, tightly roll it up into a log, keeping it as tight and even as possible. Cut the log in half to create two shorter logs, then cut each of those shorter logs in half lengthwise, giving you four sections of dough with all those beautiful layers visible. Repeat this entire process with the remaining two sheets of dough until you have 12 sections total.
- Shape the Cruffins: Working with one section of dough at a time, roll it tightly into a cinnamon roll shape, making sure the layered side is facing outward so you can see all those gorgeous spirals. Tuck in the end piece of dough to secure it. Place each shaped cruffin into one cup of the prepared muffin tin. Repeat with all remaining sections until your tin is full.
- Bake the Cruffins: Place the muffin tin in the preheated oven and bake for 20 to 25 minutes, or until the cruffins are puffed up and golden brown on top. While the cruffins bake, prepare the garlic butter so it's ready when they come out.
- Make the Garlic Butter: In a small bowl, whisk together the melted butter, minced garlic, chopped chives, and kosher salt until everything is well combined. As soon as the cruffins come out of the oven, generously brush the garlic butter mixture over the tops of the warm cruffins, letting it soak into all the nooks and crannies. and butter, letting the butter melt completely into a silky sauce.
Creative Variations to Try
These cheddar cheese cruffins are wonderfully adaptable to different flavors and preferences.
Cheese Options: Try using sharp cheddar for a stronger flavor, or mix in some mozzarella, Gruyère, or Parmesan for different melting properties and taste profiles.
Herb Variations: Swap the chives for fresh parsley, dill, rosemary, or thyme depending on what you're serving them with.
Add Bacon: Sprinkle cooked, crumbled bacon over the cheese layer before rolling for a smoky, meaty twist.
Spicy Version: Add a pinch of red pepper flakes to the filling or brush the tops with a mixture of melted butter and hot sauce.
Italian Style: Use Italian seasoning in the filling and top with Parmesan cheese and marinara sauce for dipping.
Jalapeño Cheddar: Add finely diced jalapeños to the filling for a spicy kick that pairs beautifully with the cheddar.idea to link out to another blogger with a similar recipe that fits a different diet.
EQUIPMENT
Standard 12-cup muffin tin: Shapes the cruffins and helps them hold their form while baking.
Rolling pin: Helps you roll out the dough to the right size and thickness. Medium bowl: For mixing the chive garlic butter filling.
Small bowl: For whisking together the garlic butter topping.
Pastry brush: Makes it easy to brush the garlic butter evenly over the warm cruffins.
Nonstick cooking spray: Prevents the cruffins from sticking to the muffin tin.
Storage and Reheating Tips
Store leftover cheesy garlic cruffins in an airtight container at room temperature for up to 2 days, or in the refrigerator for up to 4 days. The garlic butter will keep them moist even after storing.
To reheat, place them in a 300°F oven for about 5 to 7 minutes until warmed through and the cheese is melty again. You can also microwave individual cruffins for 15 to 20 seconds, though the oven method keeps them flakier.
For longer storage, freeze the baked cruffins in a freezer-safe bag or container for up to 2 months. Thaw overnight in the refrigerator, then reheat in the oven until warm and crispy on the edges.
Serving Suggestions
These Cheesy Garlic Cruffins appetizers work beautifully in so many different settings and meals.
Serve them warm as an appetizer at parties with a side of marinara sauce, ranch dressing, or garlic aioli for dipping. They're also perfect as a side dish alongside soups, salads, or pasta dishes where their buttery, garlicky flavor complements the meal.
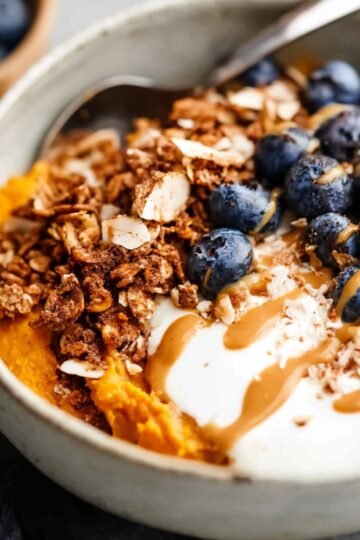
For brunch, pair them with our Sweet Potato Breakfast Bowl or Korean Rolled Omelette for a savory spread that covers all your cravings. They also make a great addition to a bread basket at dinner parties, or pack them for picnics and potlucks where they'll disappear fast.
Try serving them with a simple green salad dressed with vinaigrette for lunch, or enjoy them as an afternoon snack with a cup of soup. They're also wonderful at game day gatherings, holiday meals, or any time you want something that looks impressive but doesn't require hours in the kitchen.
Expert Tips
Use crescent roll sheets if possible: The seamless sheets are easier to work with than the perforated dough, but if you only have the perforated kind, just pinch the seams together well before rolling.
Keep the butter soft, not melted: Softened butter spreads more easily and stays in place better than melted butter, which can run off the dough.
Roll tightly: The tighter you roll the dough, the more defined layers you'll see in the finished Cheesy Garlic Cruffins. Take your time with this step.
Don't overfill: It's tempting to add extra cheese, but too much filling can cause the cruffins to overflow or not bake evenly.
Brush while warm: Apply the garlic butter as soon as the Cheesy Garlic Cruffins come out of the oven so it soaks in beautifully and creates that glossy, flavorful coating.
Let them cool slightly: Give the Cheesy Garlic Cruffins 5 minutes to set in the pan before removing them, or they might fall apart while they're still too soft.
FAQ
Can I make Cheesy Garlic Cruffins ahead of time?
Yes! You can assemble the Cheesy Garlic Cruffins, place them in the muffin tin, cover tightly with plastic wrap, and refrigerate for up to 24 hours before baking. Let them sit at room temperature for about 15 minutes before baking, and you may need to add a few extra minutes to the baking time. My mom always makes hers the night before big family gatherings to save time in the morning.
Can I use puff pastry instead of crescent roll dough?
You can, but the texture will be different. Puff pastry creates a lighter, flakier result, while crescent roll dough is a bit more tender and bread-like. If you use puff pastry, you may need to adjust the baking time slightly. Either way will be delicious, just different.
How do I prevent the Cheesy Garlic Cruffins from leaking out?
Make sure to roll the dough tightly and tuck in the end piece securely when shaping each Cheesy Garlic Cruffins. Don't overfill with cheese, and placing them seam-side down in the muffin tin can also help. A little cheese leakage is normal and actually creates nice crispy bits, so don't worry too much about it.
Can I freeze unbaked Cheesy Garlic Cruffins?
Absolutely! Assemble the Cheesy Garlic Cruffins and place them in the muffin tin, then freeze until solid. Transfer the frozen Cheesy Garlic Cruffins to a freezer bag and freeze for up to 2 months. Bake directly from frozen, adding 5 to 10 minutes to the baking time. Grandma used to keep a batch in the freezer for unexpected guests, and they always turned out perfect.
Related
Looking for other recipes like this? Try these:


Pairing
These are my favorite dishes to serve with Cheesy Garlic Cruffins


Cheesy Garlic Cruffins
Ingredients
Method
- Preheat the oven to 350°F (175°C).
- Lightly grease a 12-cup muffin tin with non-stick spray or butter and set aside.
- On a lightly floured surface, roll out each crescent roll dough sheet into a 12x16-inch rectangle.
- In a medium bowl, combine the softened butter, chives, and garlic.
- Spread about ⅓ of the butter mixture evenly over one sheet of dough.
- Sprinkle 1 cup of shredded cheddar cheese over the butter mixture.
- Starting at the long end of the dough, roll it up tightly into a log.
- Cut the rolled log in half, then cut each half in half lengthwise, resulting in four sections of dough.
- Repeat the process with the remaining dough sheets, yielding 12 dough sections.
- Take each section of dough, ensuring the layered side faces out, and roll it tightly into a cinnamon roll shape, tucking the ends under.
- Place each cruffin into the prepared muffin tin.
- Bake for 20-25 minutes, or until the cruffins are golden brown and crisp.
- While the cruffins are baking, prepare the garlic butter. In a small bowl, whisk together melted butter, garlic, chives, and salt.
- Once the cruffins are baked, brush the garlic butter mixture over the warm cruffins.


Leave a Reply